Growing microgreens on table background. Healthy eating concept. Fresh garden produce organically grown as a symbol of health. Microgreens closeup.
Have you seen those tiny, leafy greens topping gourmet dishes or Instagram salads and wondered what they are? Those vibrant little plants are microgreens — and they’re taking the wellness and culinary world by storm.
Whether you’re a home cook, a health enthusiast, or someone simply looking to add more greens to your diet, microgreens for beginners is the perfect starting point. These miniature powerhouses are easy to grow, nutrient-rich, and absolutely delicious.
Let’s walk you through exactly what microgreens are, how to grow them at home, and which ones are best for beginners.
What Are Microgreens?
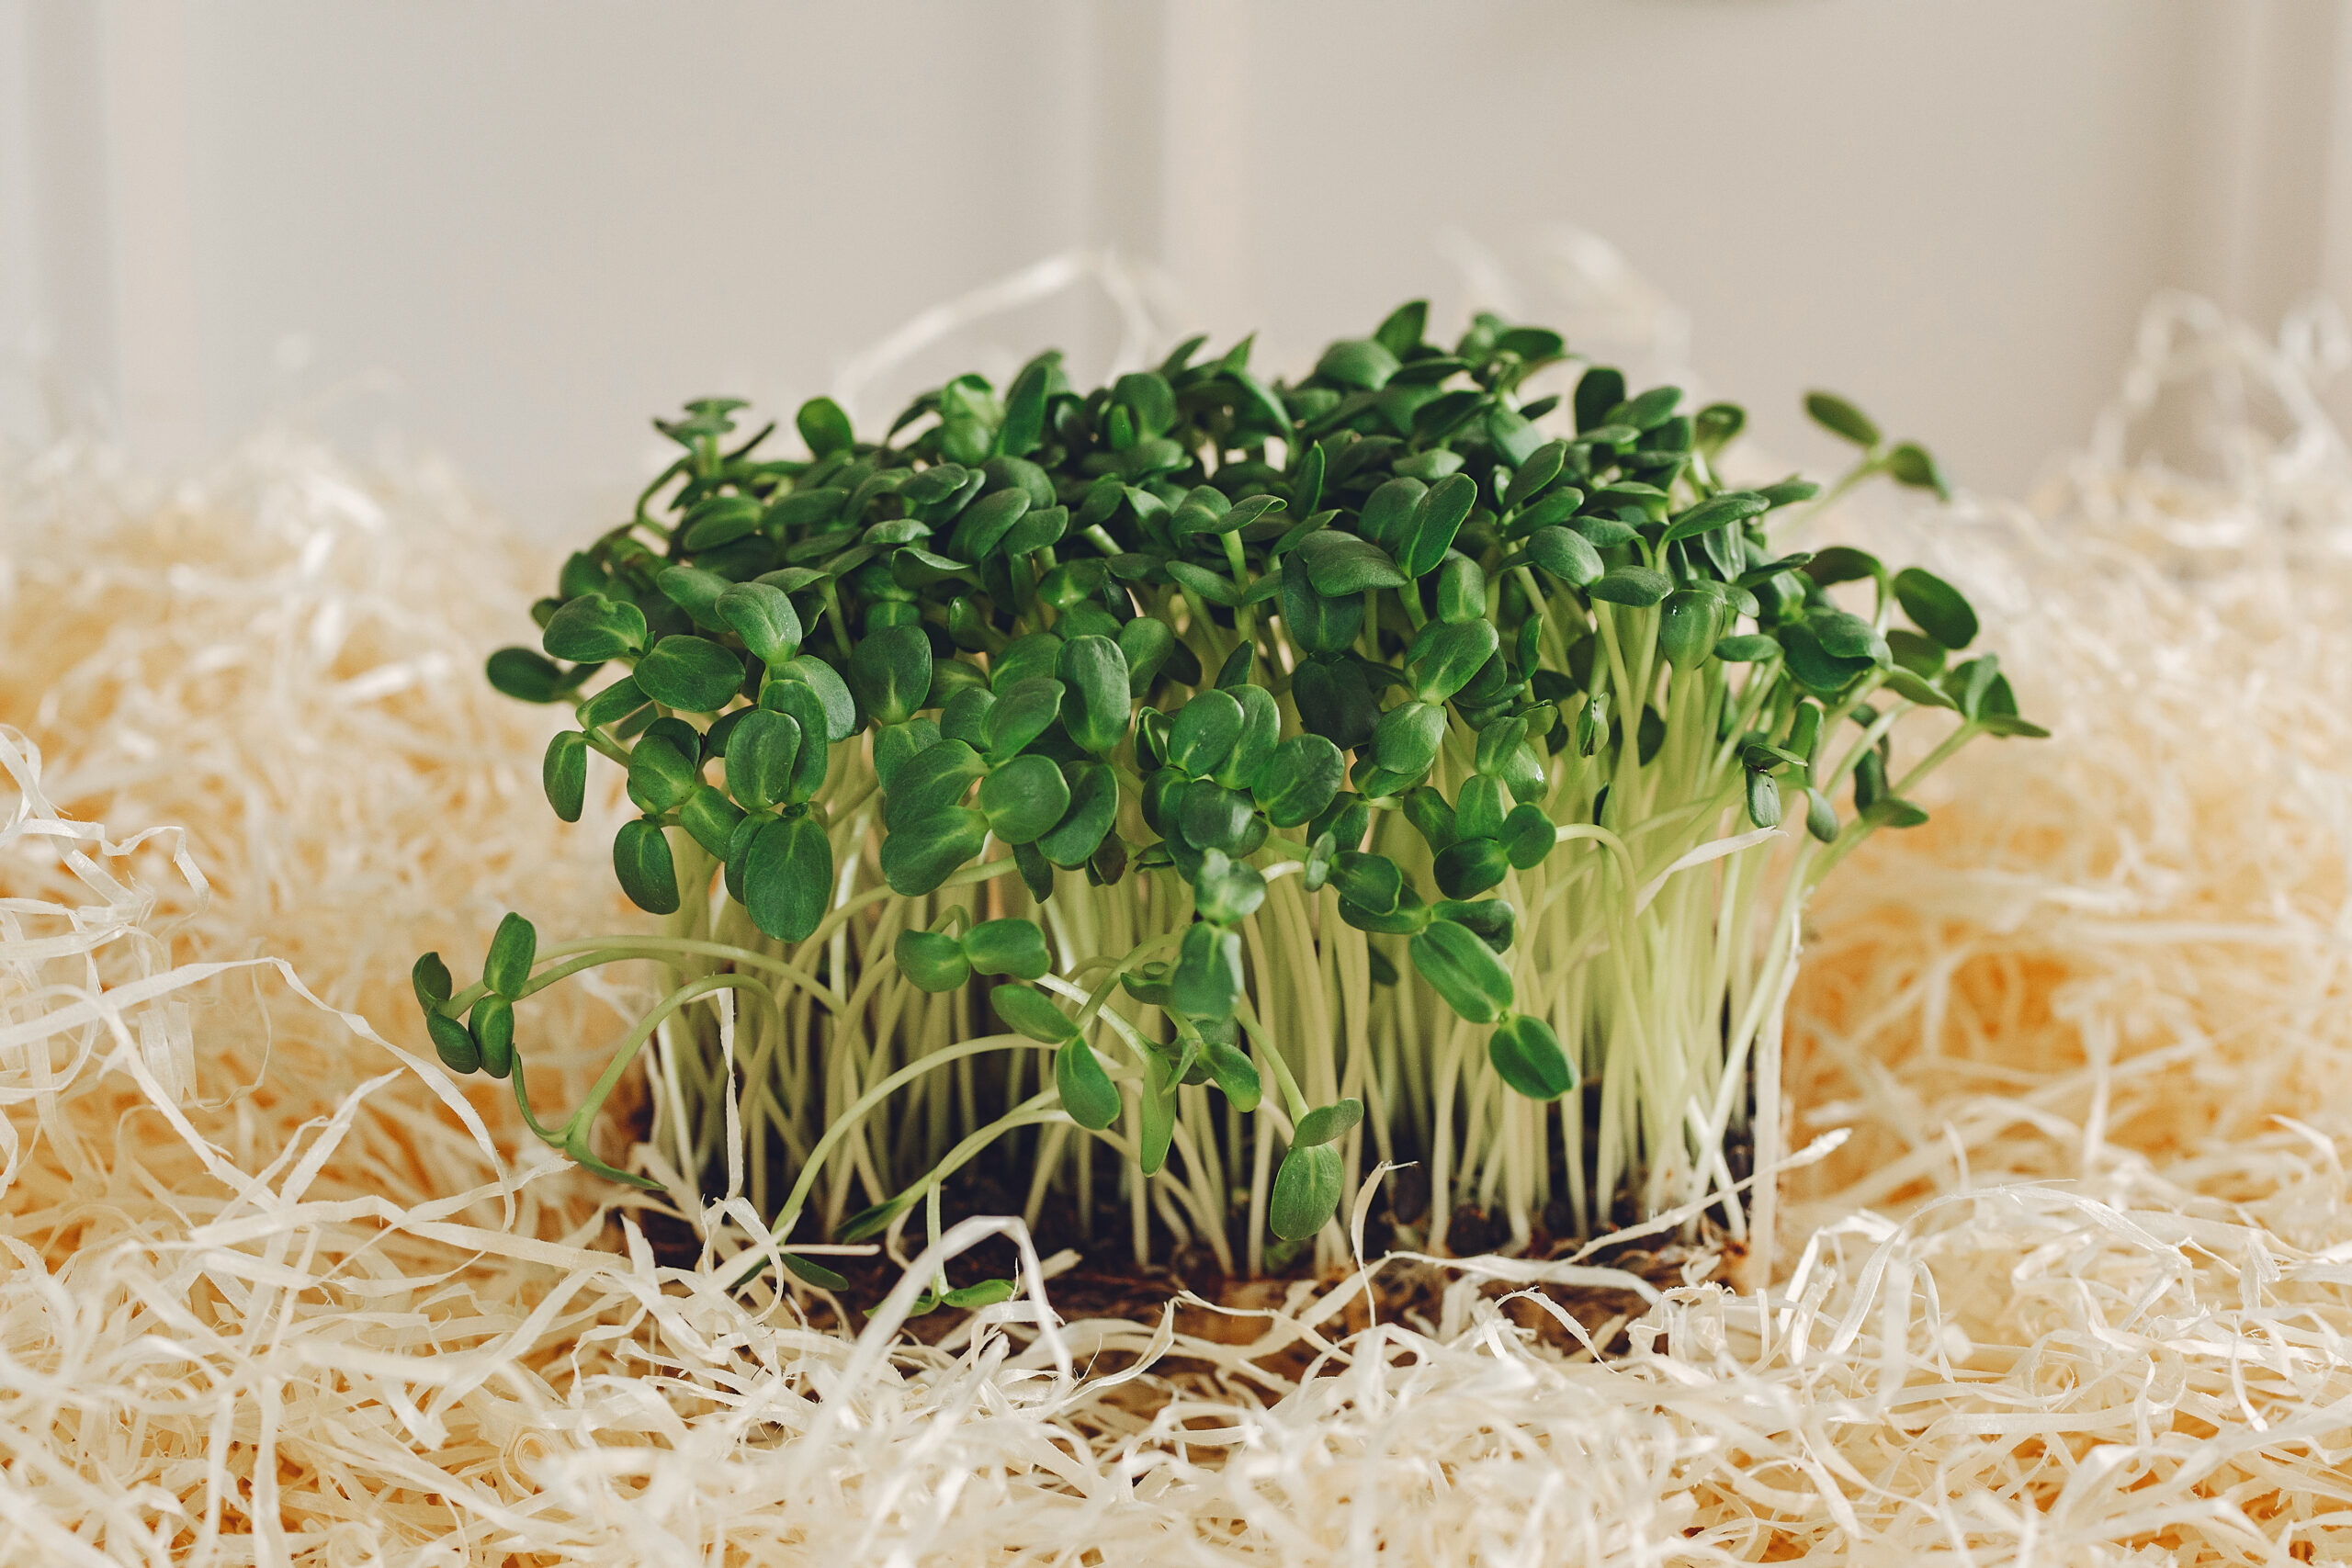
Microgreens are young vegetable or herb plants harvested just after the first set of true leaves emerge, usually within 7 to 14 days of germination. They fall somewhere between sprouts and baby greens.
Unlike sprouts, which are eaten root and all, microgreens are grown in soil or cocopeat and only the top part (stem and leaves) is harvested.
Why Are Microgreens So Popular?
Up to 40x more nutrients than mature greens
Easy to grow at home without a garden
Add flavor, color, and crunch to meals
Harvest in just a week!
Benefits of Growing Microgreens at Home
Freshness at Your Fingertips: Grow your greens on your kitchen counter.
Cost-Effective: A packet of seeds gives you multiple harvests.
Chemical-Free: No pesticides, no preservatives.
Satisfying Hobby: Especially fun for kids and mindful eating advocates.
What You Need to Start
Starting your microgreens journey requires just a few simple items:
Seeds: Choose untreated seeds. Good starter options include broccoli, radish, pea, and sunflower.
Growing Medium: Organic cocopeat, soil mix, or even a hydroponic mat.
Tray or Container: Any shallow container will work – even a recycled plastic box.
Spray Bottle: For gentle watering.
Natural Light: Place near a window or use a grow light.
Step-by-Step: How to Grow Microgreens
Prepare Your Tray
Fill your container with a 1-inch layer of cocopeat.
Moisten the medium with a spray bottle.
Sow the Seeds
Scatter seeds evenly across the surface.
Lightly press them in. No need to bury.
Cover and Germinate
Cover with a lid or paper towel for 2-3 days to promote germination.
Keep in a dark space.
Uncover and Grow
Move to a well-lit area once sprouts appear.
Mist 1-2 times a day. Avoid overwatering.
Harvest in 7-10 Days
When the first true leaves appear, cut above the soil with clean scissors.
Rinse gently and store in the fridge for up to 5 days.
Best Microgreens for Beginners
Broccoli: Mild taste, high in sulforaphane
Radish: Fast-growing, spicy kick
Sunflower: Crunchy and nutty
Pea Shoots: Sweet and tender
These are all available fresh-cut or as grow kits from Evrgreens.
Common Mistakes to Avoid
Overwatering: Leads to mold growth.
Poor ventilation: Ensure air circulation to prevent damping off.
Direct harsh sunlight: Use filtered light or indirect sunlight.
Grow Your Greens, Grow Your Health
Microgreens are one of the easiest ways to eat healthier without changing your entire lifestyle. With just a tray and some seeds, you can start growing fresh, flavorful greens right in your kitchen.
Ready to start growing your own? Browse our Grow Kits and Fresh-Cut Microgreens at evrgreens.com – and join the green revolution today!